
Painting guide
Paint your first mini
From grey resin to the table, step by step, for anyone who has never painted a mini.
Start here
Before you start
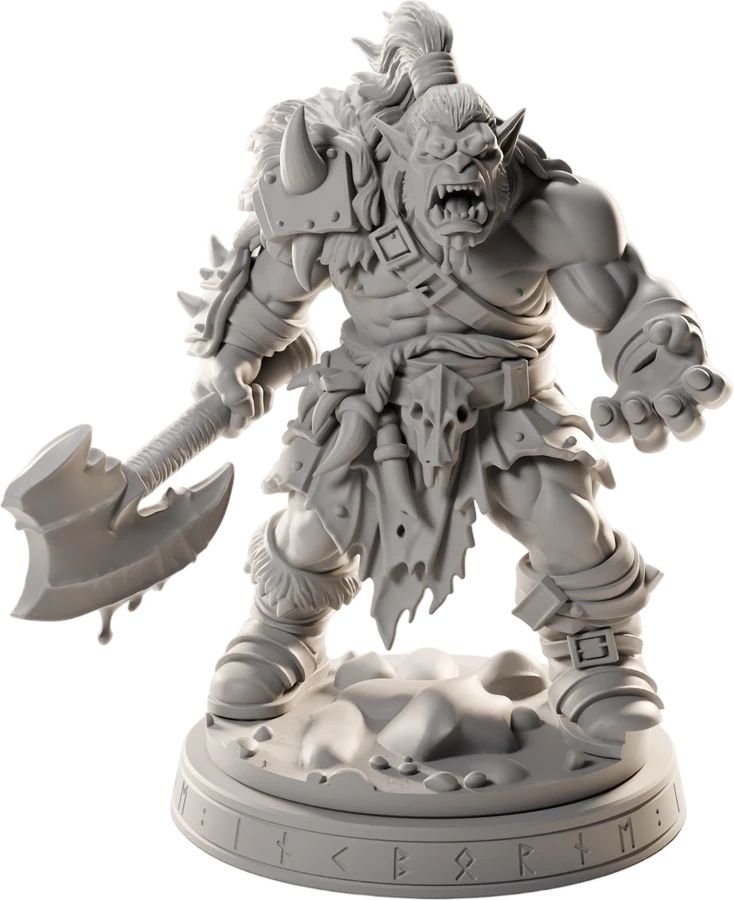
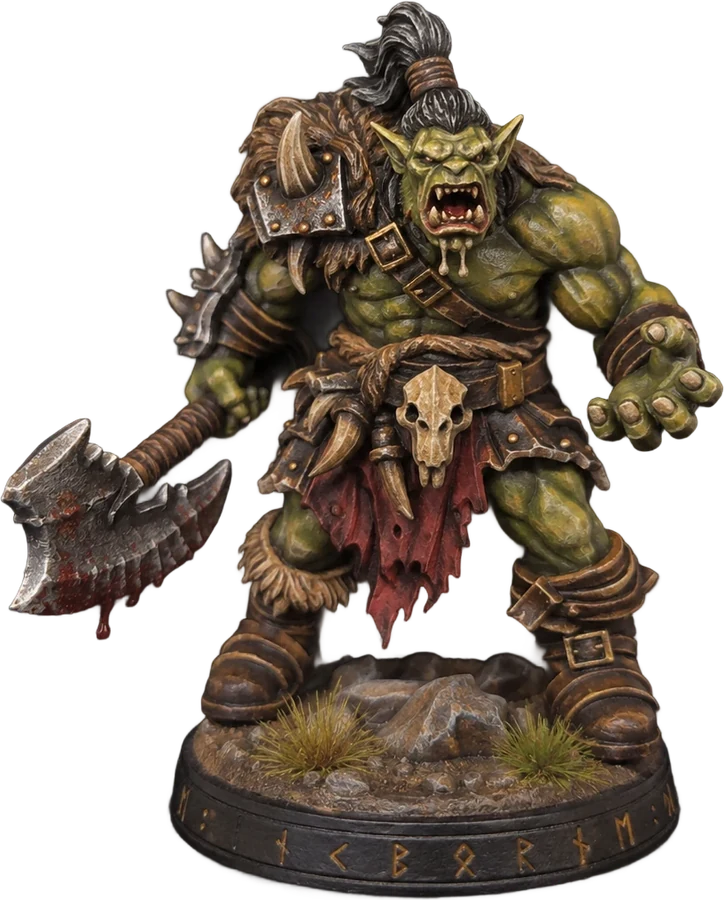
This guide follows the way two of the hobby’s best-known teachers start beginners off: Squidmar Miniatures, from Sweden, and Duncan Rhodes, who presented Games Workshop’s painting videos for years. Where they disagree, you get the simplest choice and what the other one does.
Your first mini takes an evening or two. It won’t be perfect, and nobody’s first one is. Pick one thing to get better at on the next.
It all works the same on a mini from our shop, your own character or a file you had us print. They arrive washed, cured, without supports and apart from their base.
Shopping list
What you need
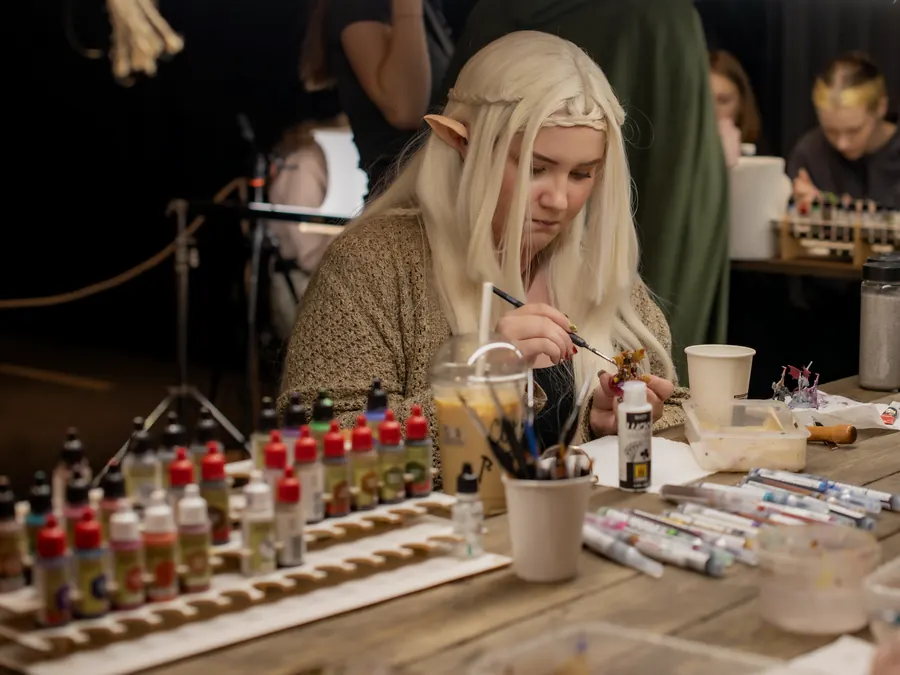
To start
- Three brushes. A medium synthetic one for base colours and washes, a small good one for details (sable if you can: it’s the one worth spending on), and a cheap soft one for drybrushing.
- Five to ten paints. Hobby acrylics such as Vallejo, Citadel, The Army Painter or AK, not craft paint. Black, white, a skin tone, a brown, silver, gold, and two or three colours for your character.
- A dark wash, brown or black, for the shadows.
- A spray primer in grey or black.
- A palette: a white tile or an old white plate.
- Two cups of water, one only for metallic paint, and some kitchen paper.
- A handle: a cork or an old pill bottle, with a bit of blu-tack to hold the mini.
- Superglue, to fix the mini to its base at the end.
Nice to have
- A daylight bulb (5000 to 6500 K). Warm light makes colours look wrong.
- A wet palette keeps paint usable for hours. Make one from a flat plastic box, a wet dishcloth and a sheet of baking paper on top.
- Texture paint, or white glue and fine sand, for the base, and a few grass tufts.
- Matt varnish, if your minis get handled a lot.
- Brush soap, so the good brush keeps its point.
Look after the good brush. Keep paint off the metal part, never leave it standing in the water, and never use it for metallics, washes, texture paint or drybrushing.
Step I
Prepare
Our minis arrive ready to paint, but look yours over first.
- Feel for small bumps where the supports were. Scrape them flat with the back of a hobby knife or a fine sanding sponge. Wear a mask if you sand: resin dust is bad to breathe.
- If it feels greasy or tacky, wash it in warm water with a little washing-up liquid, rinse and let it dry completely.
- A bent sword or spear: dip it in hot (not boiling) water for 20 seconds, straighten it, then hold it under cold water. Never bend cold resin. It snaps.
- Stick the mini to your handle with blu-tack, and from now on hold the handle, never the mini. Skin oil stops paint sticking, and thin parts break.
- Paint the mini and its base apart, and glue them together at the end.
Step II
Prime
Paint on bare resin rubs off as soon as you handle it. Primer gives it something to hold on to.
Which colour? Grey is the easiest: light and dark colours both go on well over it. Black hides what you miss and gives you shadows. White makes bright colours brighter.
- Spray outdoors or by an open window, on a dry, mild day. Cold or damp air makes it grainy.
- Stand the can in warm tap water for five to ten minutes, then shake it hard for a minute or two.
- Hold it 20 to 30 cm away. Spray in short passes that start and end beside the mini, never aimed at one spot.
- Turn it and do every side, and underneath. Two light coats beat one heavy one, which fills the detail.
- Let it dry for an hour. Primer you brush on needs a full day.
A trick from Squidmar. Prime black, then mist white or light grey from straight above. It shows you where the light falls, which helps with every step after.
Step III
Thin your paint
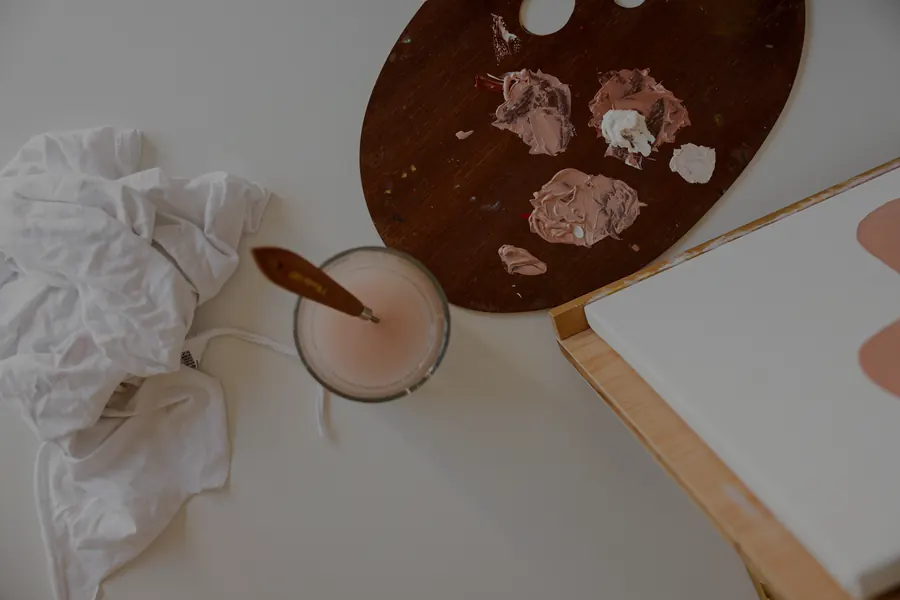
Both teachers start here: thin your paint, and put it on in two thin coats. Paint straight from the pot is too thick. It leaves brush marks and fills the detail.
- Shake the pot well, then put a drop the size of a pea on your palette.
- Dip the brush in water and touch it to the paint. Mix in a little water at a time until the paint flows off the brush like milk but still covers.
- Try a stroke on the palette or your thumbnail. If it’s see-through and runny, add paint. If it drags, add water.
- Take paint up to the middle of the bristles, never further. Wipe the extra off on kitchen paper and roll the brush to a point.
The first coat looks patchy. That’s right. Let it dry, and the second coat evens it out. Painting over wet paint pulls the first coat off.
Step IV
Base colours
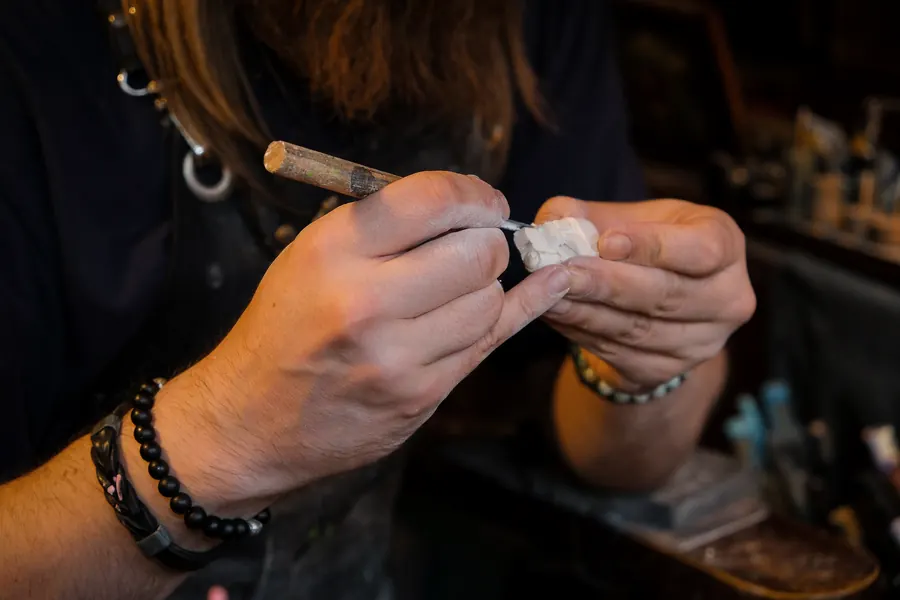
Now give every part its colour, in a middle shade: not the darkest or the lightest you want. The shadows and the light come later.
- Start with the biggest area, like the cloak or the armour, then work down to the small things.
- Be messy at first. Paint over belts and buckles. The next colours tidy it up.
- Two thin coats of each. Light colours such as white or yellow need three over grey.
- Rest your elbows on the table and let your hands touch each other. It stops the shake.
- Went over a line? Let it dry and paint over it with the colour that should be there.
Step V
Shade
A wash is thin, dark paint that runs into the folds and corners and settles there. It gives you shadows without painting them.
- Don’t thin it: it comes ready.
- Use your medium brush and be generous, but spread it evenly.
- Brown on skin, leather, wood and gold. Black on steel, dark cloth and anything cold.
- If it pools on a flat area, soak it up with a damp, squeezed-out brush. A pool dries as a ring.
- Let it dry completely, at least 45 minutes. Touch it early and it marks.
Where the two differ. Duncan Rhodes washes the whole mini: the quickest way to one you can play with. Squidmar now teaches painting the shadows and the light by hand from the start, and keeps washes for when you want speed. Start with the wash, and try his way on your third or fourth mini.
Step VI
Drybrush
A drybrush only catches the raised parts, so texture stands out: fur, hair, chainmail, scales, rocks and the base. Don’t use it on smooth skin or cloth.
- Use paint from the pot, unthinned, on your cheap soft brush.
- Wipe almost all of it off on kitchen paper, until the brush barely leaves a mark.
- Flick it lightly back and forth across the raised parts, and build it up slowly.
- First with the base colour, which also cleans the wash off the tops, then with a lighter one.
- Do it before the neat details, because it’s messy. The brush must be fully dry before you change colour.
Step VII
Highlight
Light falls from above, so the parts that face up catch it: the shoulders, the head, the tops of the folds.
- Paint the base colour back on those raised parts, and leave the wash in the hollows.
- Then mix that colour about half and half with a light one (white, or a pale skin tone for warm colours) and paint a smaller area: the top third of each part.
- Keep the brightest bits high on the mini and near the face. That’s where the eye goes.
Edge highlights are optional: a thin line of light paint along sharp edges, like armour plates or a blade. Use thin paint and the side of the brush, not the tip. Do every edge first, then fix the slips with the base colour.
Step VIII
Metal
- Thin metallic paint with water like any other, and use your cheap brush: the flakes ruin a good one.
- Rinse in its own cup, and mix it on a scrap of plastic, not your wet palette. Otherwise stray flakes end up in every colour after.
- Wash steel with black, and gold or bronze with brown. Then dab clean metal back on the highest points to make it shine.
Step IX
Face and eyes
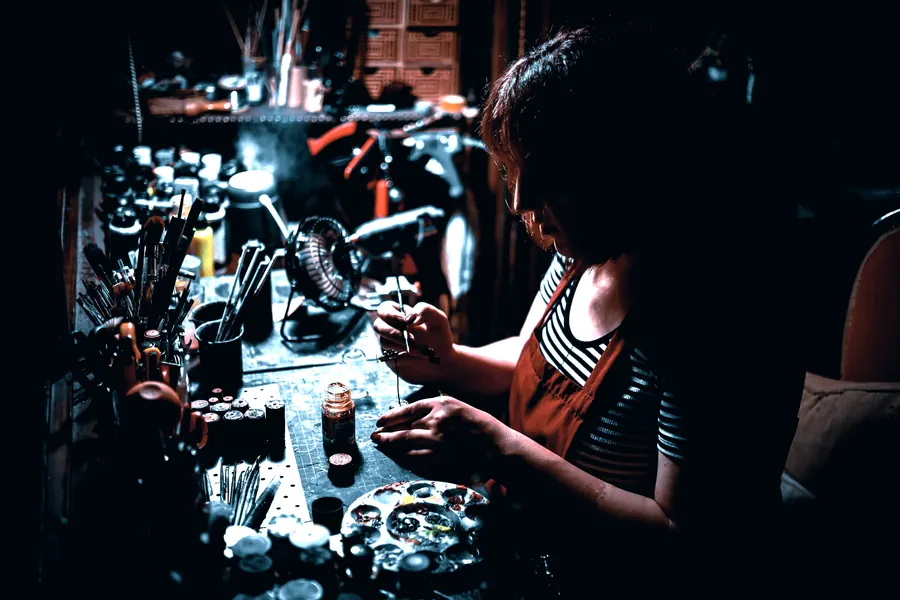
The face is where people look first, so it’s worth a little extra time.
- Paint the skin in two or three thin coats, then give it a brown wash.
- Once it’s dry, put the skin colour back on the nose, the brows, the cheekbones and the chin.
- Eyes are optional. To try: a short line of off-white, then a tiny black dot on the same side of both eyes, so they look the same way. Keep a clean, damp brush ready to lift a mistake at once.
Step X
The base
- Brush on texture paint with an old brush or a coffee stirrer, or spread white glue and dip it in fine sand. Coarse sand looks like boulders at this size.
- When it’s dry, paint it dark, then drybrush a lighter colour over it.
- Add a tuft or two of grass, and paint the rim black.
- A dark mini stands out on a light base, and a light mini on a dark one.
- Glue the mini on with a drop of superglue. Scrape a little paint off where they touch, so the glue holds.
- Because the mini comes apart, you can also put it on a base you already have.
Step XI, optional
Varnish
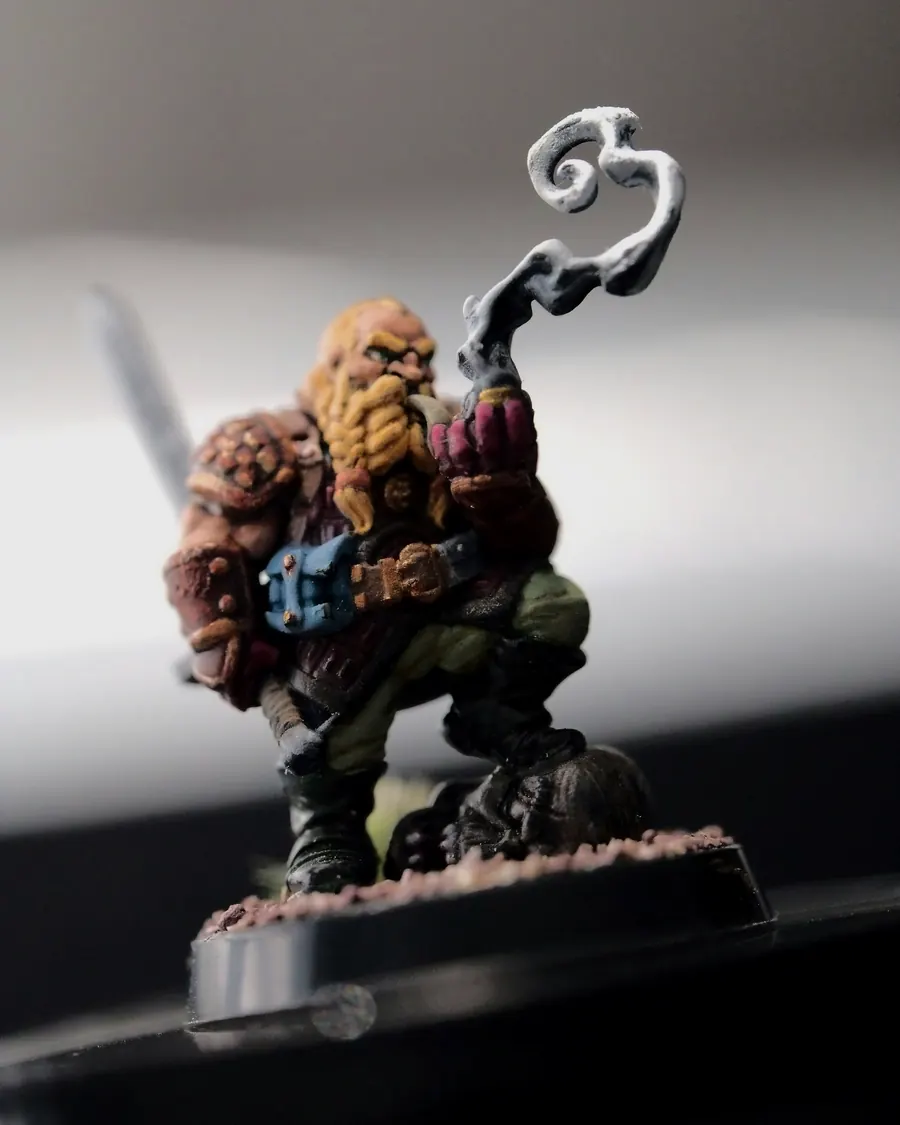
A coat of matt varnish protects the paint on a mini that gets handled at the table. Spray it like the primer: thin, from 20 to 30 cm, on a dry day.
Neither of our two teachers uses it. It can dull a wash or a shine a little, so it’s up to you. A mini that mostly stands on a shelf doesn’t need it.
Fixes
When it goes wrong
Every one of these can be fixed.
IMy paint looks lumpy or streaky, or it hides the detail.
That’s paint that’s too thick, or a second coat put on before the first was dry. Thin it until it flows off the brush like milk, put it on in two thin coats, and let each one lose its wet shine before the next. If the detail is already filled in, start over (see the last question). If not, thin coats on top will even it out.
IIThe paint won’t stick, or it rubs off.
Paint needs primer under it: on bare resin it rubs off as soon as you hold the mini. Prime it, hold the handle instead of the mini, and if the mini feels greasy, wash it in warm soapy water first. Primer that comes out grainy or rough was sprayed in cold, damp air or from too far away, so spray on a dry, mild day from 20 to 30 cm.
IIIMy mini looks flat and dull.
It needs shadows and light. A wash puts the shadows in the folds, and the base colour, then a lighter mix, on the parts that face up adds the light. Keep the brightest bits near the face and high on the mini, and make neighbouring areas clearly different, like a dark cloak against light skin.
IVI got paint where it shouldn’t be.
Let it dry, then paint over it with the colour that belongs there. That’s how every painter tidies up. A fresh slip on an eye or a face can be lifted at once with a clean, damp brush. A wash that dried in rings is fixed the same way: paint the base colour back over the flat parts and leave the wash in the hollows.
VMy brushes are already falling apart.
Paint has dried up in the metal part, and that splays the bristles. Take paint only halfway up the bristles, rinse often, never leave a brush standing in the water, and wash it with brush soap when you’re done. Use the cheap brush for metallics, washes, drybrushing and texture paint, so the good one keeps its point.
VIIt all went wrong. Can I start again?
Yes. Soak the mini in a paint stripper made for resin, scrub it with an old toothbrush, then wash it in warm soapy water and let it dry. Don’t use acetone or nail varnish remover: they damage resin. If the detail isn’t buried, you can also simply prime over the old paint and start again.
Learn more
Watch them paint
This guide follows these two teachers. Their videos show every step at the brush.
- Squidmar Miniatures: the ultimate guide to painting your first miniature (2022)
- Squidmar Miniatures: painting your first ever miniature, start here (2026)
- Duncan Rhodes Painting Academy: learn to paint your first miniature
- Duncan Rhodes Painting Academy: six things I wish I knew before I started painting
Stuck on something? Write to us and send a photo.
The photo at the top of the page is by Lidya Işık, on Pexels.